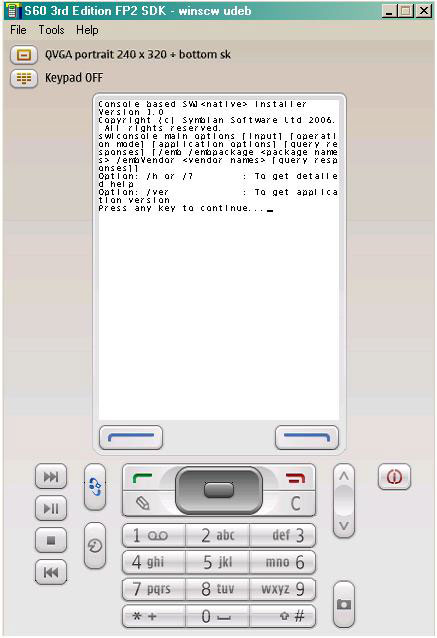
Using Console-based SWI

Console-based SWI tool installs or uninstalls native software using an EShell interface. Note: This tutorial is useful for S60 emulator only.


  • Launch EShell within the s60 emulator and enter swiconsole. Note: To get a detailed help enter swiconsole / or swiconsole /h. The following screenshot shows the main options of SWI console.

  • Enter swiconsole /i and path of the SIS file. The path of the SIS file must be given from the drive where it is placed followed by the SIS file name. For example, if the xyz.sisfile is placed in D:\epoc32\winscw\c directory, then enter swiconsole /i c:\xyz.sis. The file is installed if there are no errors; else installation fails with the error message.

  • Enter swiconsole /u /uid <uid> /pkg <package_name> /vendor <vendor_name> to uninstall a SIS file. If any of the provided fields are invalid, such as the UID, package name or vendor name then the installation fails with the number of errors and SWI console error message.

  • Enter swiconsole /d to list the installed packages on the device. The installed packages are listed with their respective package name, vendor name and package UID.

  • Enter swiconsole /ver to display current the version of the tool.

  • Enter swiconsole /pkg <package name> and swiconsole/vendor <vendor name> to specify the package and vendor names.

  • In the Application mode enter:

    1. swiconsole /l <enable/disable> – To enable or disable logging the status of the current operation and the errors.

    2. swiconsole /lf <log file> – To specify an alternate log file.
    Note: Default logs are created in C:\logs\swiconsole\swiconsole.log file path.

  • Enter swiconsole /u /uid package-uid /pkg package-name/vendor vendor-name for uninstalling a SIS file on the device.
    Note: For more information on various types of installation errors refer to sisinstallerrors.h Global variables file.
Related reference
Console-based SWI Reference